It's time to redesign your website, a move that can be both exciting and daunting. The biggest concern during this process often revolves around the potential impact on your current SEO efforts. Many fear that a redesign could lead to a drop in their hard-earned search engine rankings.
When embarking on a website redesign process, it's crucial to keep in mind the potential impact on your SEO, or search engine optimization. This concern is legitimate, as changes in site structure, URLs, and content can disrupt your existing SEO foundation, potentially affecting your hard-earned search engine rankings.
However, there's a silver lining. A well-planned and executed website redesign can actually enhance your SEO. By incorporating SEO best practices into the redesign, you can not only maintain your current rankings but possibly even improve them. This process offers an opportunity to reinforce and enhance your website's visibility in search results.
The key is to integrate SEO strategies into every stage of the redesign. This involves careful planning and execution, ensuring that all changes – from site structure to individual web pages – align with SEO best practices. It's about seeing the redesign not as a threat to your SEO efforts, but as a chance to strengthen and solidify your online presence.

Pre-Design Checklist
Before you start designing your site, below are the 3 things to do to make sure that you start off planning with a strong SEO foundation.
1. Re-define / Create Keywords Strategy
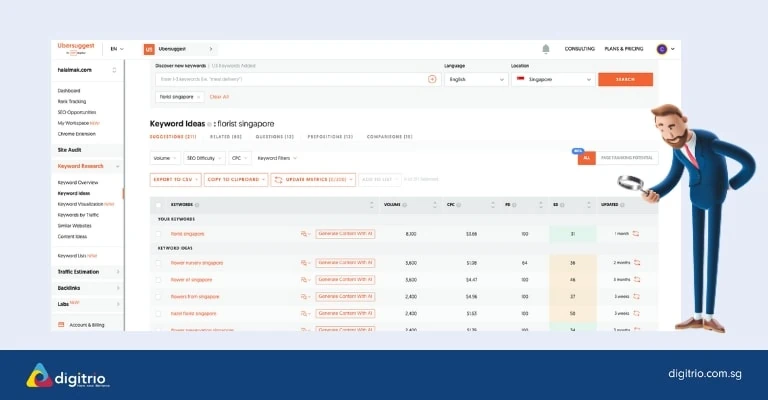
Keywords Strategy is the cornerstone of SEO. Your Keyword Strategy should involve selecting high searched keywords that are relevant to your business at the same time.
- 1Start with Core Keywords: If you're a florist in Singapore, begin by entering "florist Singapore" into Ubersuggest. This tool, like Google Keyword Planner, requires an account to access its full features but there is a free limited usage.
- 2Analyze Search Terms and Volume: Ubersuggest will provide a list of related keywords along with valuable data like search intent and average monthly searches. Pay close attention to these metrics to understand what potential customers are looking for.
- 3Select Relevant Keywords: As you review the list, add relevant keywords to your plan. Consider both the search volume and the relevance to your business. Ubersuggest's interface makes it easy to select and organize these keywords.
- 4
Expand to Product Categories: Repeat this process for different categories relevant to your business. For example, if you offer wedding flowers, search for keywords related to this category and add the relevant ones to your list.
- 5Download and Organize Keywords: Once you've compiled a comprehensive list, download the keywords in CSV format. Ubersuggest allows this, providing you with a structured file that can be opened in Excel. This document will serve as a foundation for your website redesign and overall SEO strategy.
2. New Site Structure & URLs
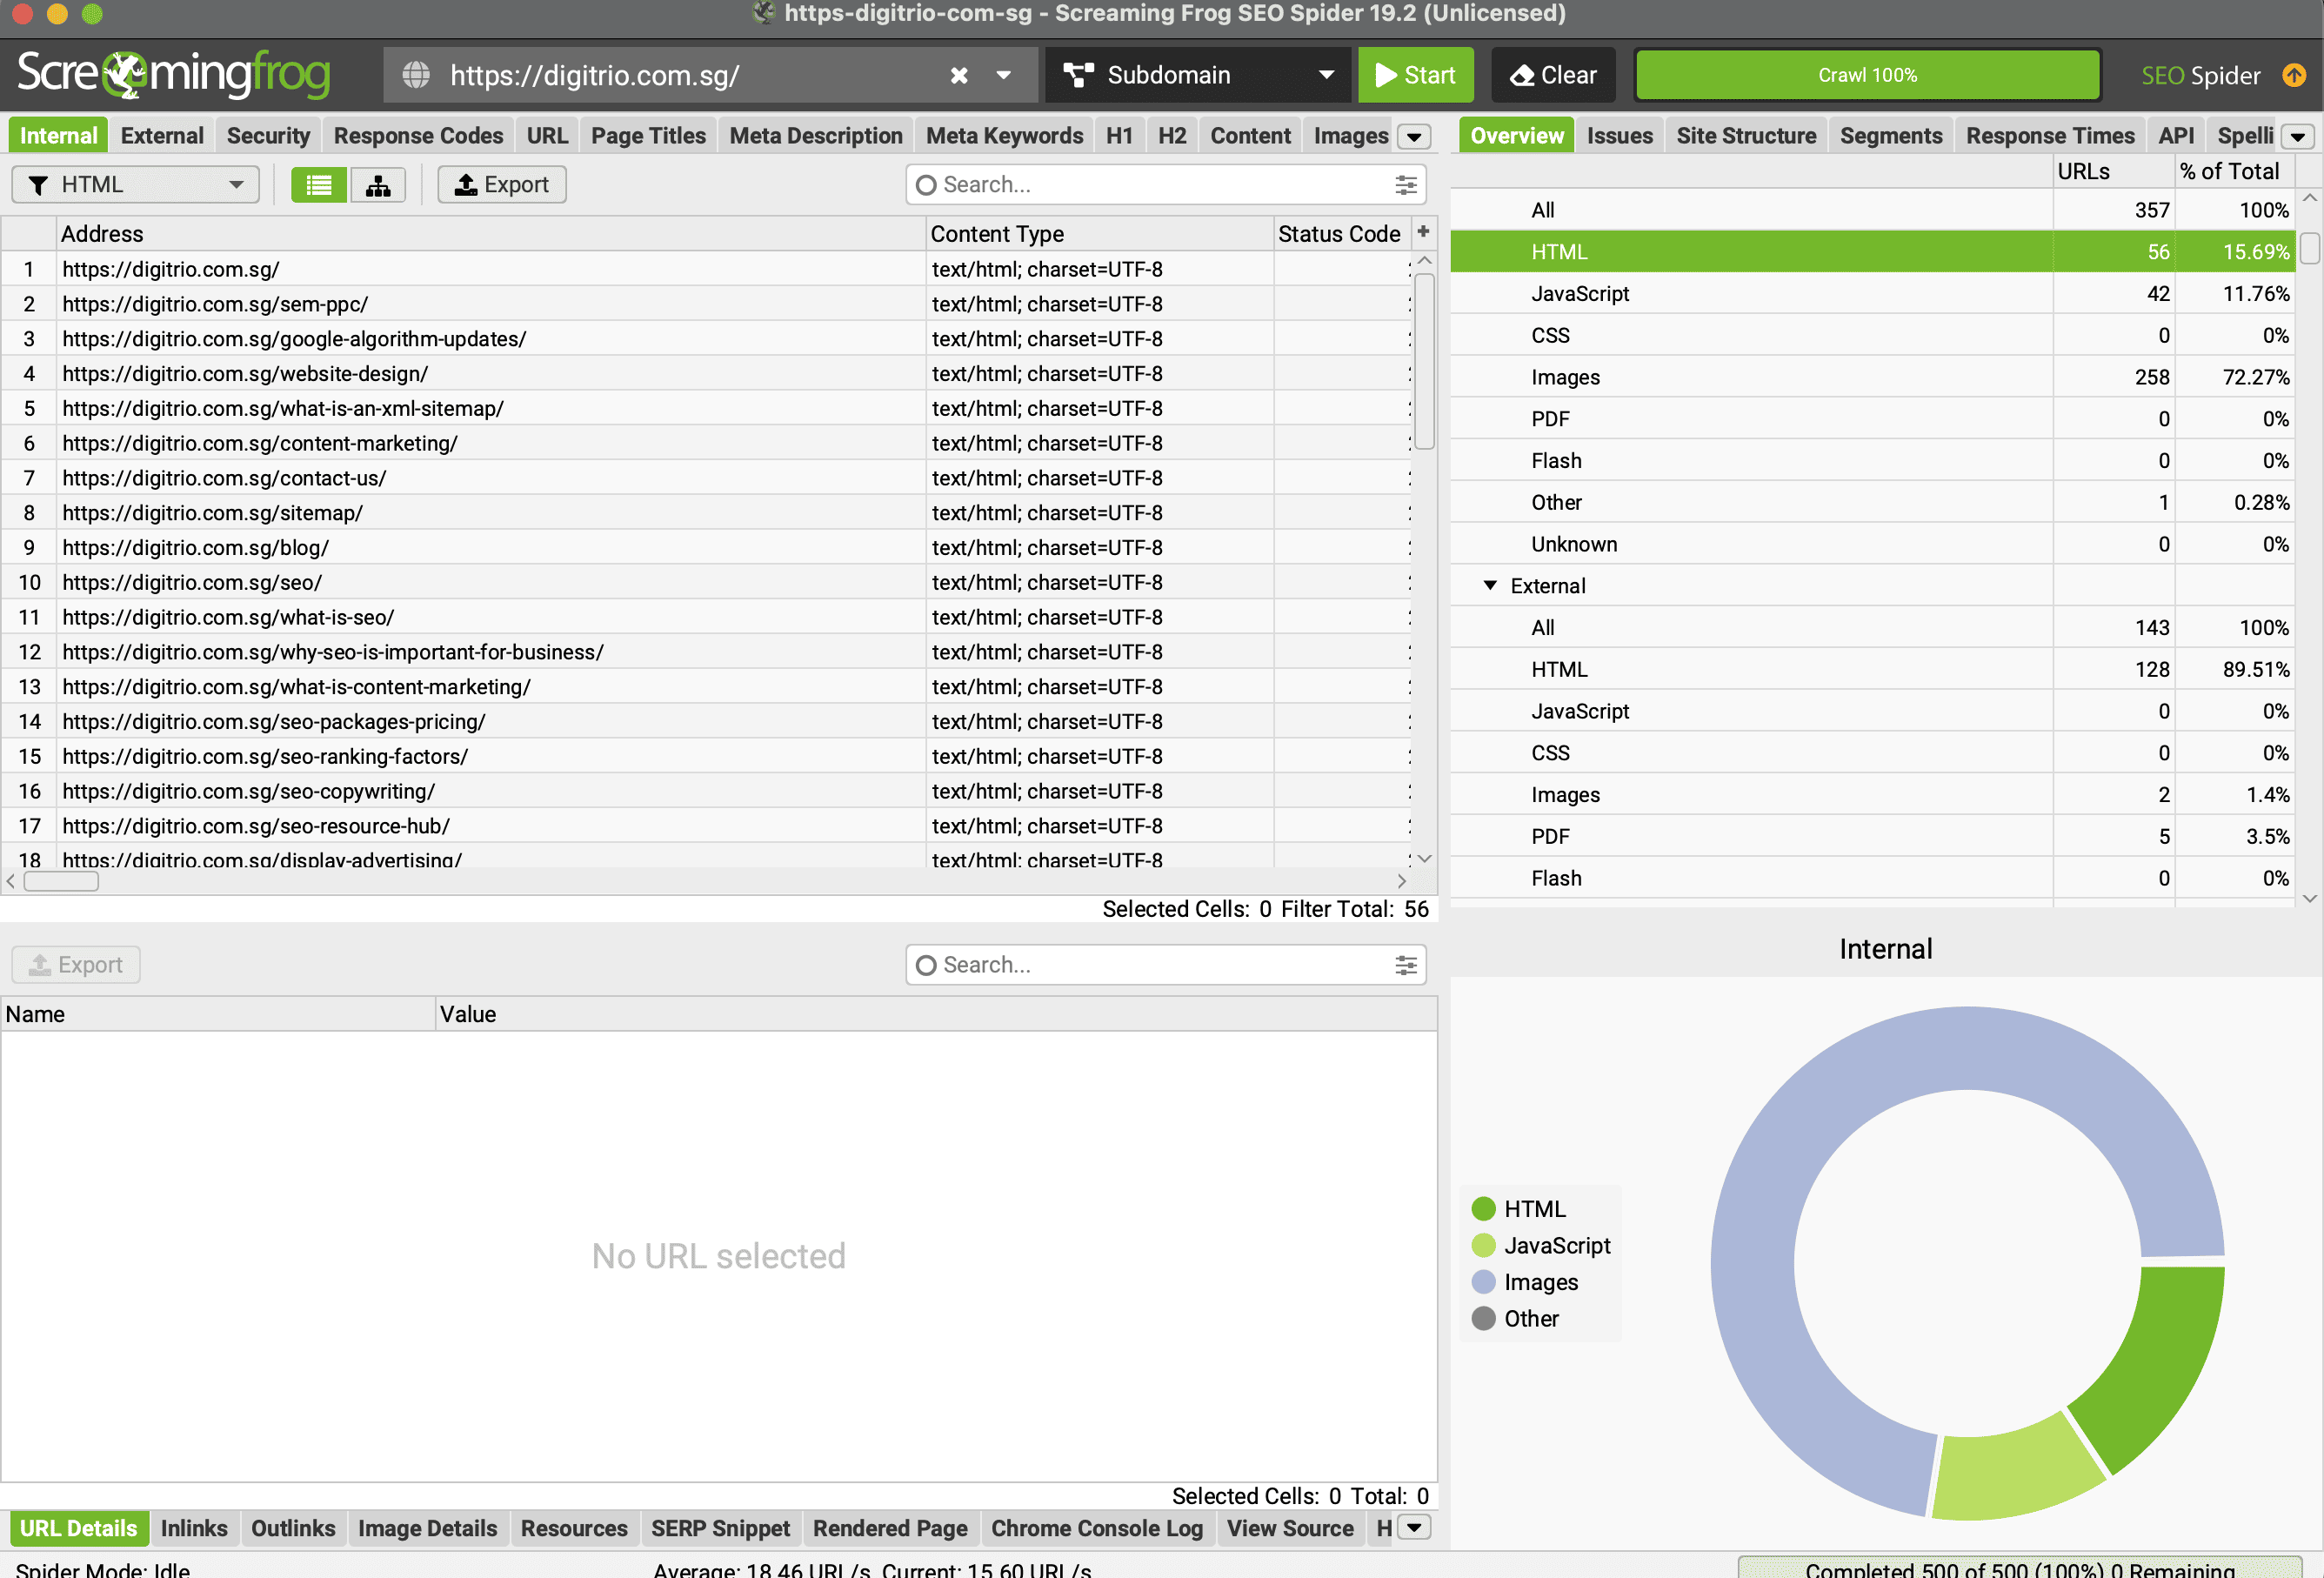
Get an overview of the current site structure, metadata and URLs is vital to identifying exactly what is changing and why based on the previous step of re-defining/create keywords strategy. The best tools for it is so use the Screaming Frog SEO Spider Tools and it allow a crawl of up to 500 pages and should be sufficient for most site. (They have a paid version as well for those larger sites.)
At this point, you want to identify keywords that are with high search volumes that you might not have a page for it.
For example, after your re-defining your keywords strategy, you identify that “wedding flowers” have an average monthly search of 210, you will want to include a new category section of your products just to cater to it especially if you send flowers that cater for a wedding.
After that, you will want to make sure that keywords are included in the URLs as well and in this case, https://yourwebsite.com/wedding-flowers.
Document down the new Site Structure & URLs in word documents.
3. 301 Redirect Map

The biggest headache when redesigning a website is having 404 errors when someone visited your old URLs. Thus do prevent that before you even start designing your website, you should create a 301 Redirect Map.
If you have done up the previous step, by now you should have a list of all the old Pages URLs & the new Pages URLs and now it is a matter of matching it up.
Now, match each old URL with its corresponding new URL. For example, if the “About Us” page on the old site is going to redirect to the “About Us” page on the new site, etc and do make sure that all old URLs match with new URLs and these will remove any 404 errors when the site is launched. The best tool for this job is none other than just the trusty Excel document.
(Note: If the site is huge, automating the process is essential by finding the common differences between old & new URLs. like old URL: about.php to New URL: about then “.php” is a common difference here. If not possible, at minimum do a redirect on the most important pages for SEO to the new URLs and the rest can redirect to the homepage.)
During Redesign
So you have done up the steps above to set a solid foundation. But there are still things to take note of during the redesign to prevent redundant work and issues later on.
1. Block Googlebot
Never forget to block Googlebot from crawling your staging site. Because, the last thing you want is to have Google index your great new content and when you launch the new site, the new content will have close to no value as it will be considered a duplicate.
There a few ways to do it but if you are using WordPress, it can be easily done by checking the “Discourage search engines from indexing this site.”

The next way is to add the following code to every page of your staging site, which is very time consuming especially if you have a large site.
The last method is to put the following in your Robots.txt file as below:
User-agent: *
Disallow: /
Note: Search engines might not always follow what is set at the Robots.txt and the safer option is to implement one of the other 2 ways above.
2. Unique Meta Tagging
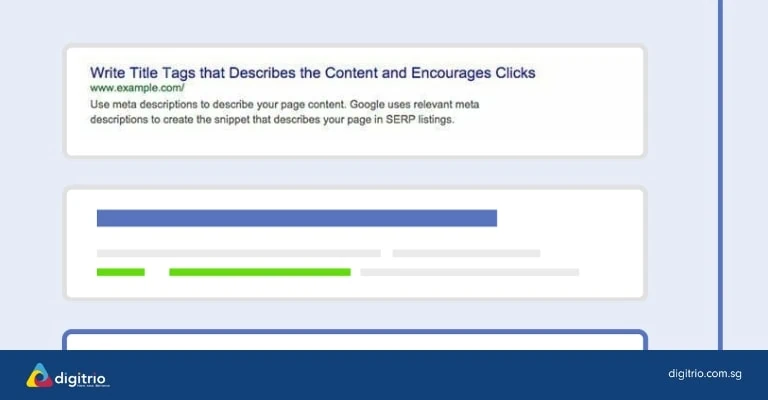
A Meta tag tells Google what the page is all about and even though over the years, this has been a lesser emphasis in Google Ranking due to spam, it is still an important factor and can greatly increase the CTR rate when done right.
Thus during the redesign, you want to make sure you implement a unique meta-tagging for each page. Specifically, Page Title & Meta Description.
Page Title – A title tag is the main text that describes an online document and is ideally 50-60 characters long.
Meta Description – Meta description tags are extremely important in gaining user click-through from SERPs. The description should optimally be between 150-160 characters long.
Pro Tip: Try to include your main keyword at least once in the Title and Meta Description when possible.
3. Site Speed
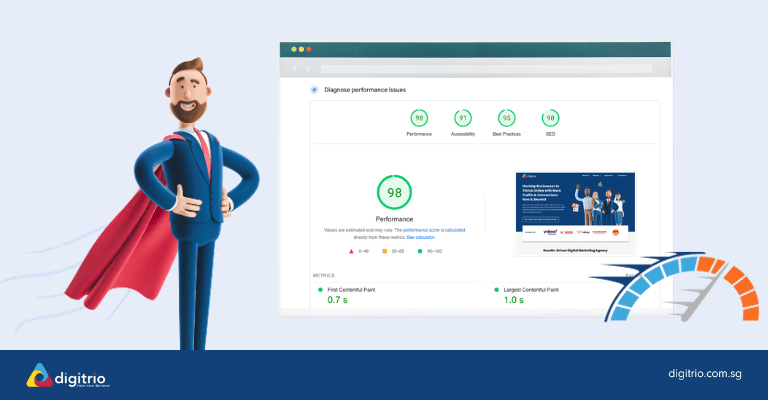
Nobody likes a slow-loading site, and Google's stance is no different. Recognizing the importance of speed and efficiency, Google has consistently favored websites that boast clean codes and quick loading times. This emphasis became more pronounced with the introduction of Google's PageSpeed Insights tools. These tools are integral in assessing website performance and align closely with Google's Core Web Vitals. These vitals include crucial metrics like Largest Contentful Paint (LCP), which measures how quickly the main content of a page loads, First Input Delay (FID), assessing interactivity and responsiveness, and Cumulative Layout Shift (CLS), which evaluates the stability of a page's layout as it loads.
A fast-loading site not only fares better in Google's rankings but also significantly enhances the user experience, ensuring visitors aren't left waiting. This is especially important in the context of website redesigns, where the focus should be on streamlining and optimizing the site. Particularly for WordPress sites, it's crucial to eliminate unnecessary scripts or plugins that may impede loading speed. Resources such as the article from Kinsta provide valuable strategies to improve site speed in line with Core Web Vitals, boosting both performance and user satisfaction.
4. Image Optimization
When it comes to fast Site Speed, Image Optimization is the key. Images often account for most of the downloaded bytes on a web page. As a result, optimizing images can often yield the largest byte savings & performance improvements for your website.

The easiest way to shave off some extra bytes is to make sure that your image is saved at the actual size needed. Meaning, if it is only going to be displayed at 500px, do not save a 3000px image and upload it and always use the save as web option in photoshop.
The right file format makes the difference as mine. As a general rule, any transparent image in PNG & the rest in JPEG usually do the trick. But if you want to bring it even further, you will require an image compression software or plugin.
If you are using WordPress, there is a plugin called WP Smush which helps to compress images when uploaded to WP. Super handy plugin to have.
5. Mobile Friendly
If you know a bit of SEO, then you must have heard of the April 21st, Mobilegeddon. The rise of mobile browsing means that when redesigning a new site, you definitely need to be considering the mobile aspect. Below are some of the things to consider:
- How the layout will change on mobile?
- What will the user experience and user interface be like?
- Is the vital information above the fold?
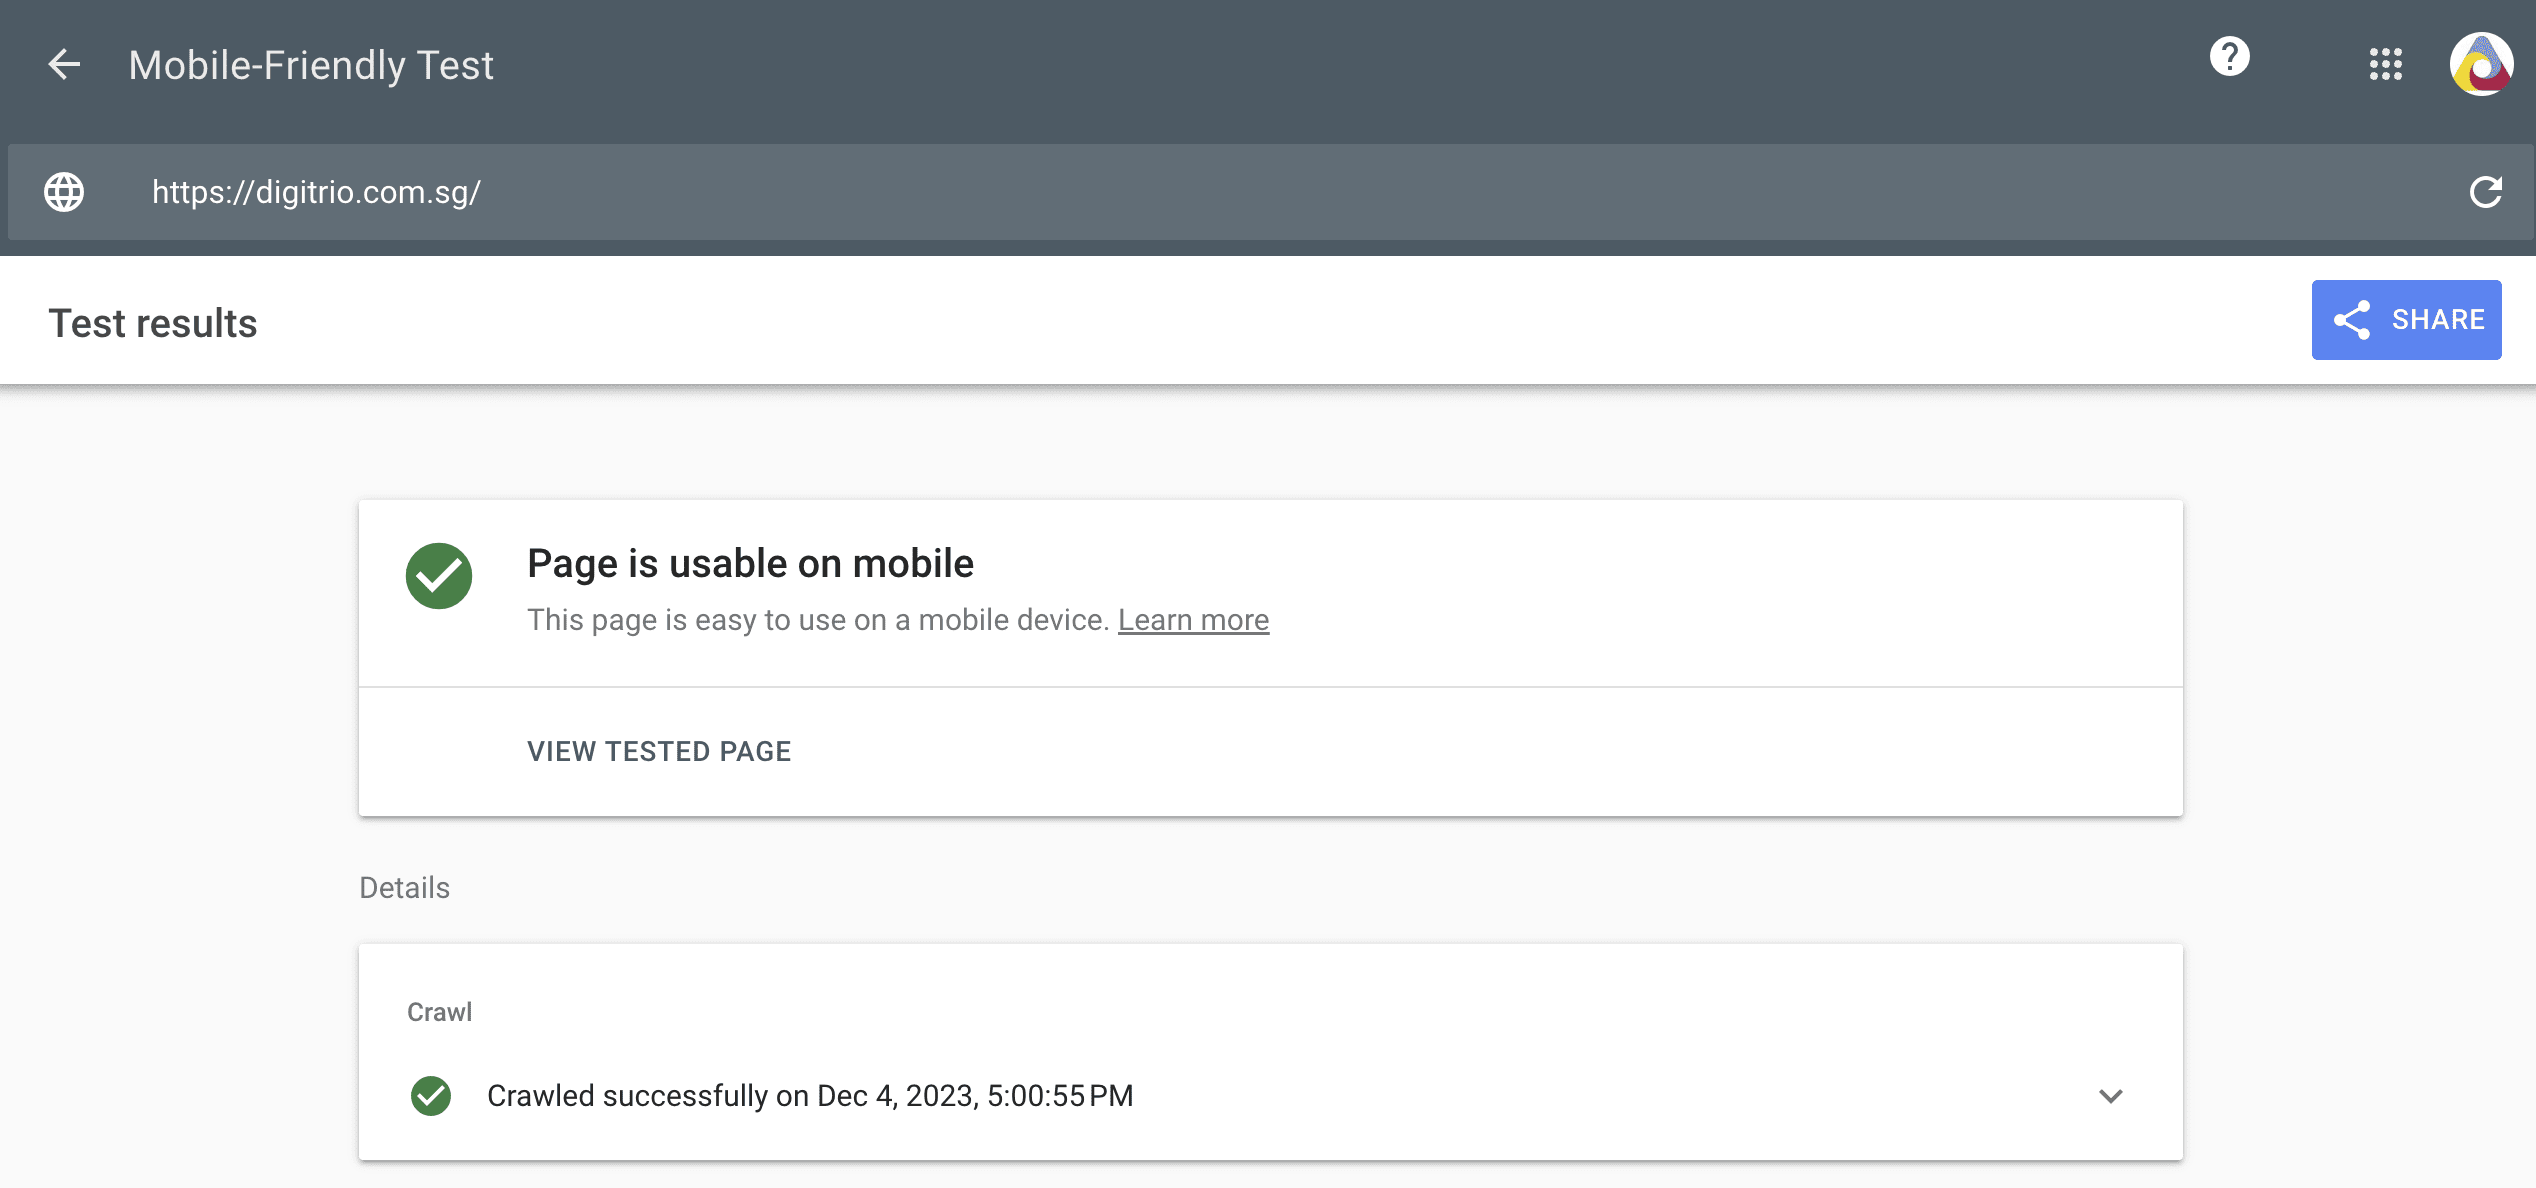
After the site is done, you can always use the Google Mobile Friendly Test to double-check to make sure that it is considered one in Google Bot’s eye.
You must unblock the Google bot before using it.
Pre-Launch Checklist
Now, your redesign is up and done up and ready to go live. But before you do so, make sure that you have the following check to ensure a smooth transition from your old site.
1. Install New / Existing Google Analytics
One of the common mistakes when launching a new site is the lack of transfer of the existing Google Analytics code. If your previous site does not have one, it is time to create a new one now.
If you have one, go over to Admin -> Tracking Info -> Tracking Code

Copy the code and make sure that it is on every page on your site and you are good to go for this part.
2. 404 Page Creation
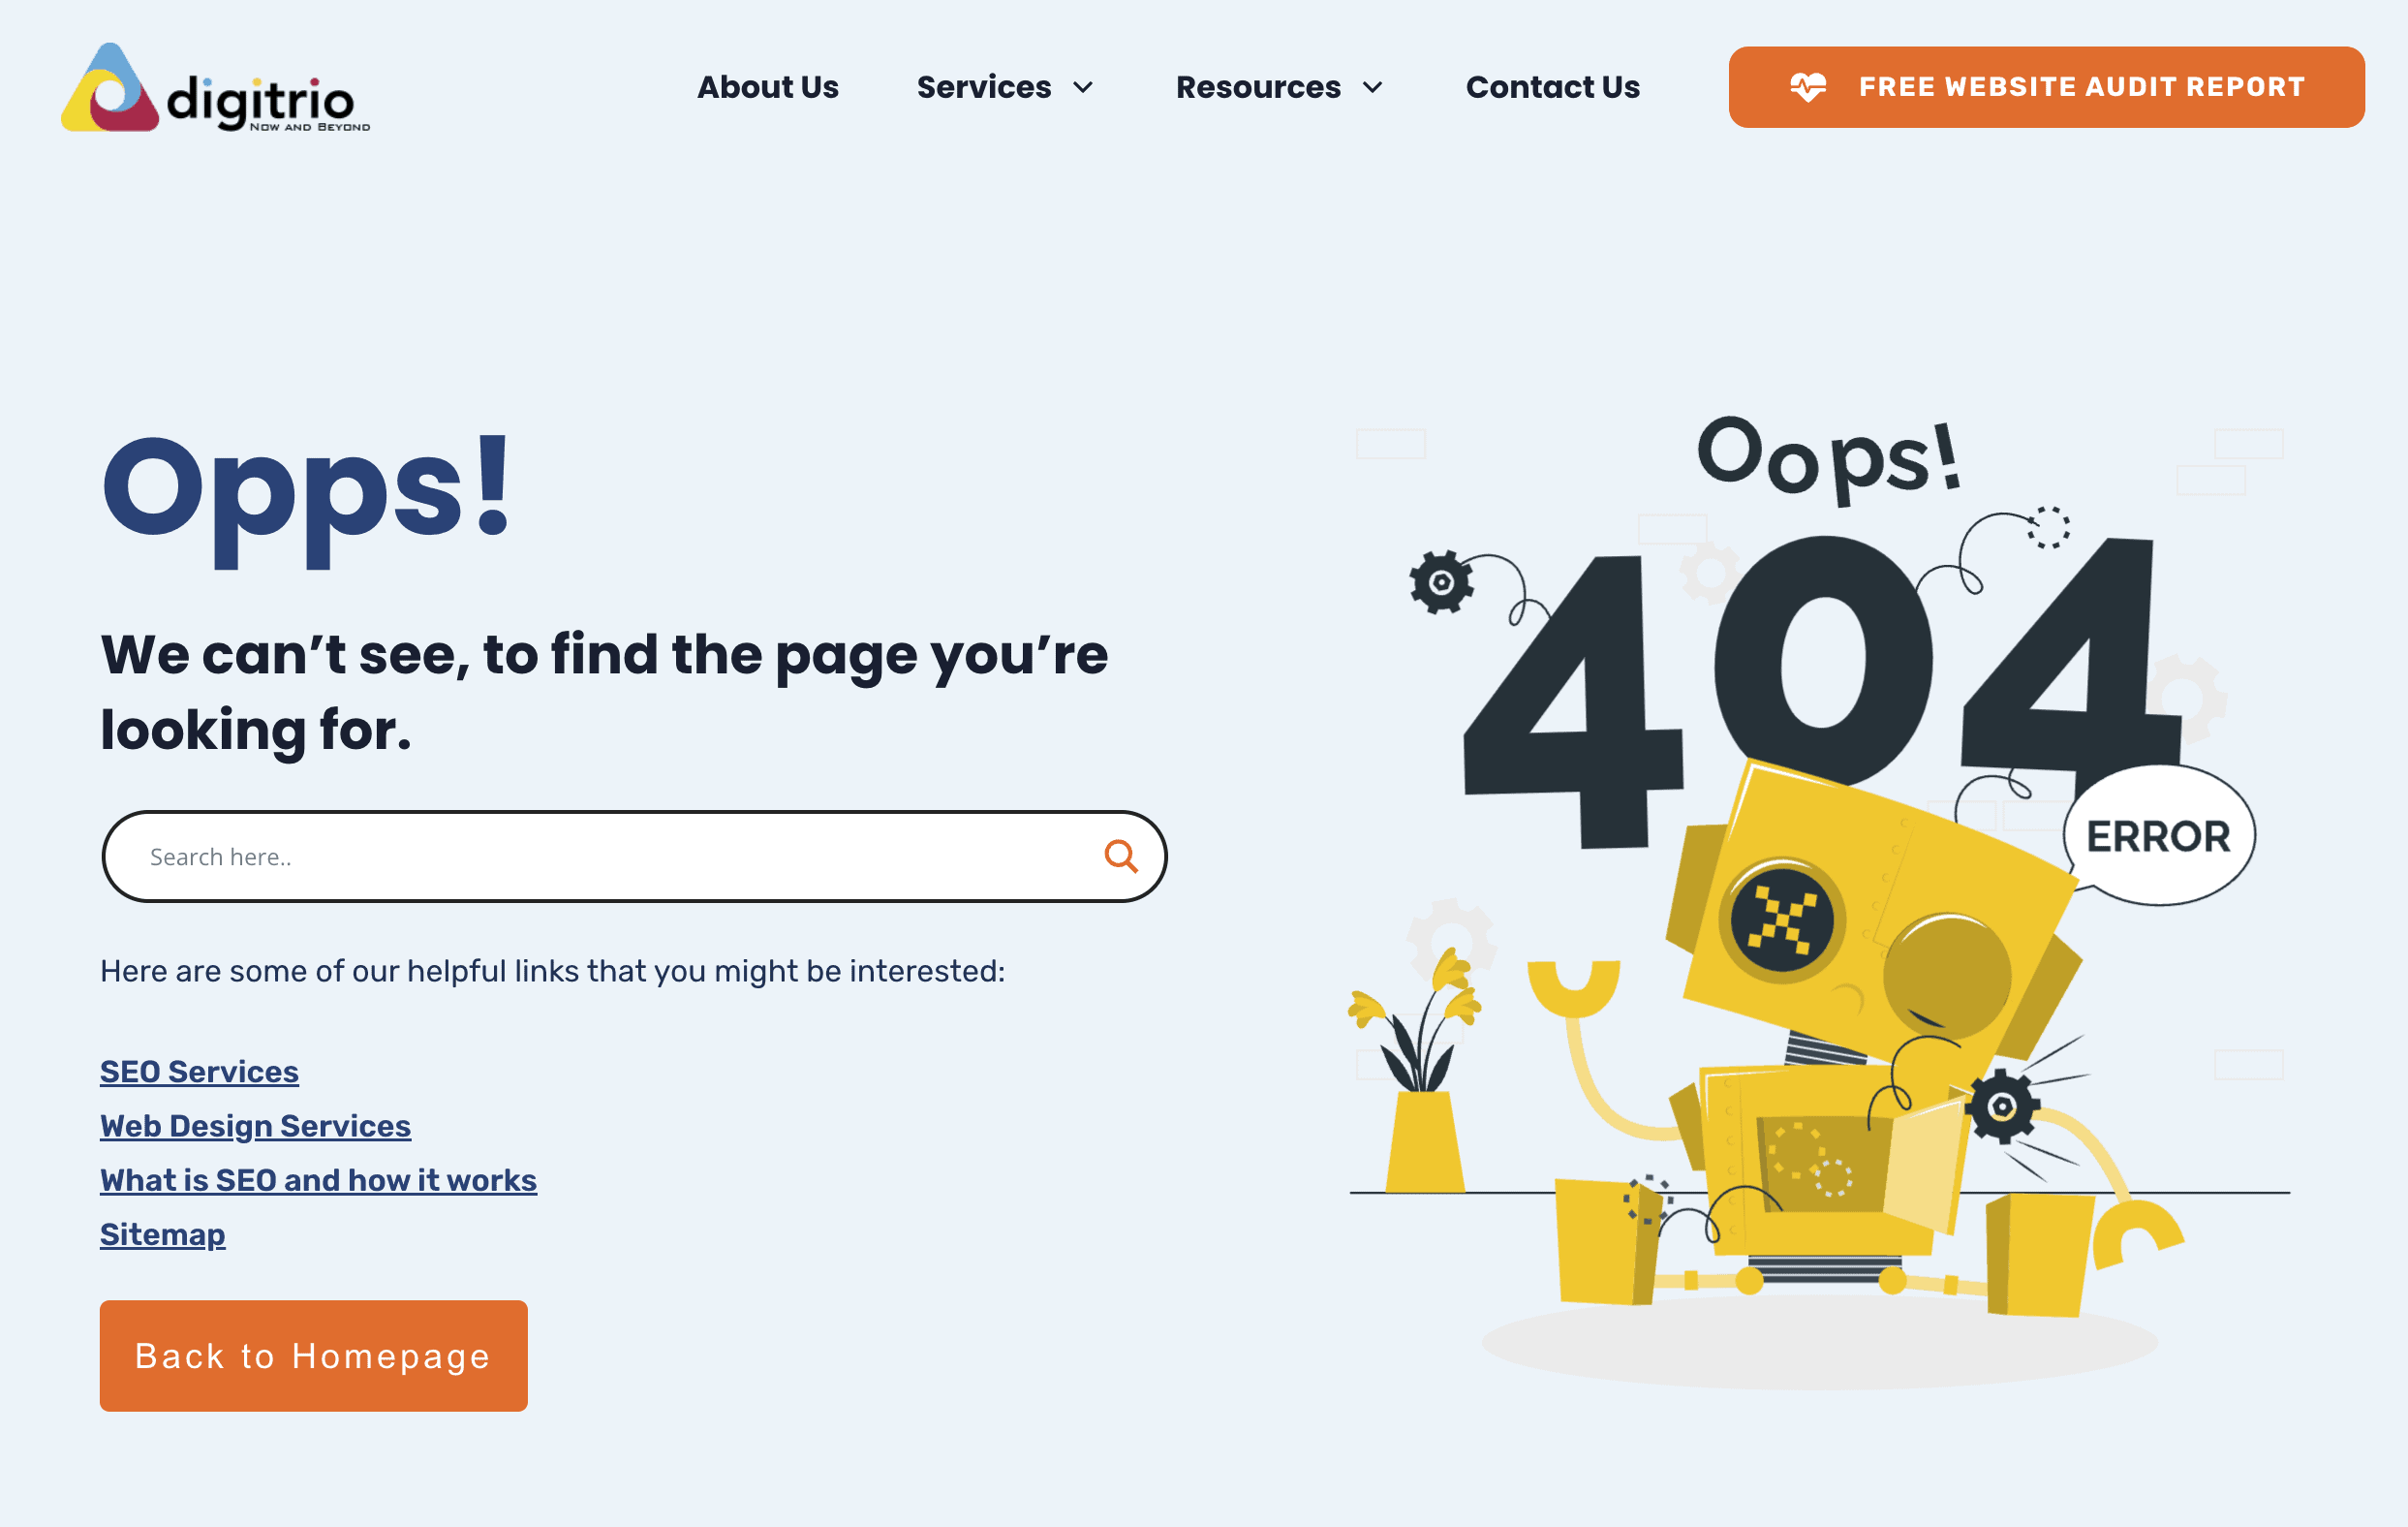
As you prepare to launch a new site, chances are it will experience a few 404s – Page not found Error. Thus, you should always have an optimized 404 page in place in case that happened.
A 404 Page is not just a creative error page but can also be used to help discover new Pages and improve user experience by including a search function and a sitemap.
Pro Tip: If you have a large site, make sure to include at least the key pages of your site on the 404 page.
3. Sitemap Creation
A Sitemap is a directory place for the Googlebot and helps to identify all pages in your site especially now that you are going to relaunch a new site. You should always have an up-to-date sitemap in both HTML & XML Format.
XML Sitemap
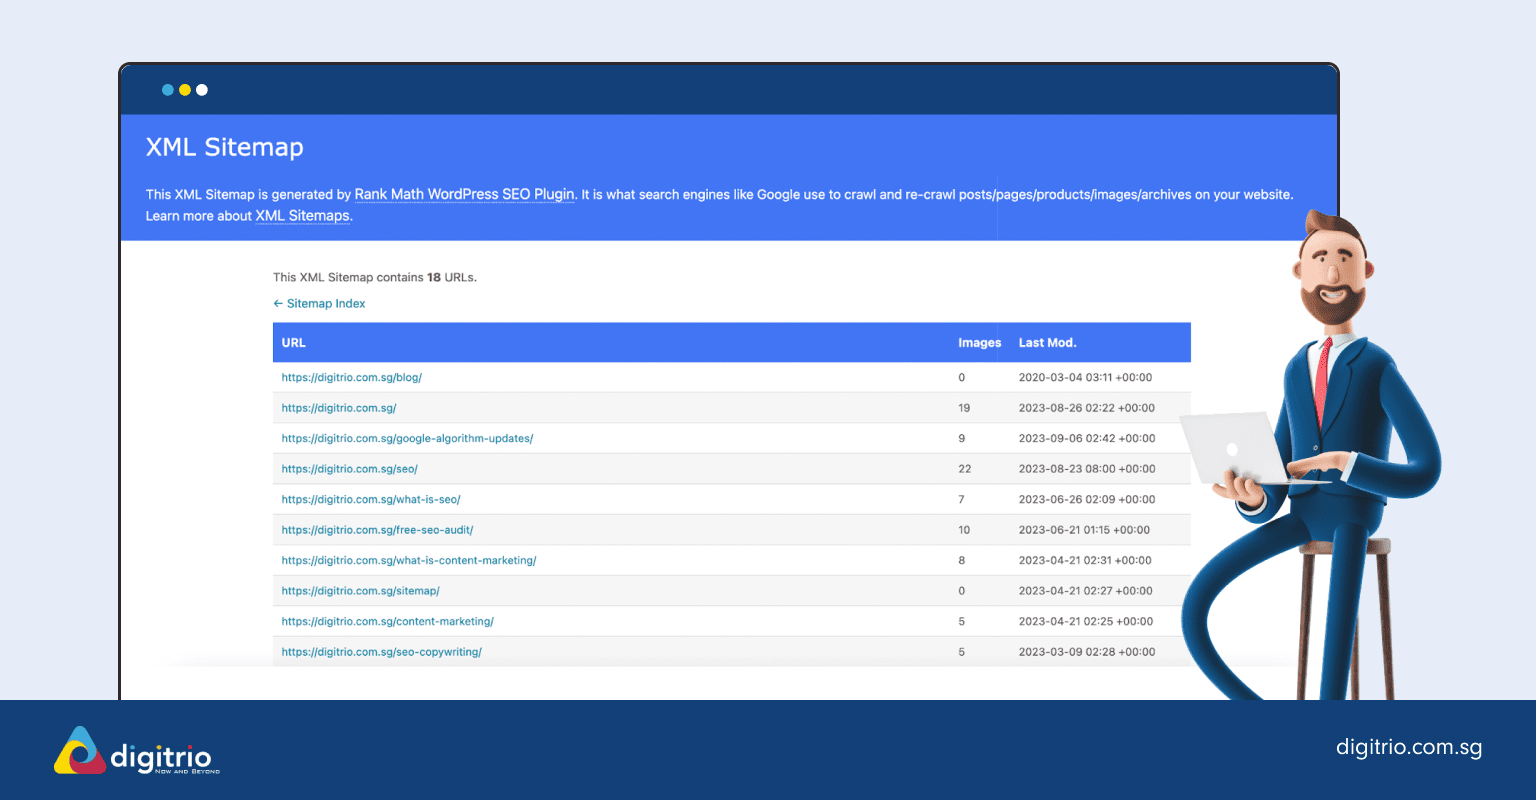
An XML sitemap is a document that helps Google Search Engine to better understand your website when crawling it. It is usually placed at the root domain of the domain. Eg. https://mydomain.com/sitemap.xml.
The XML sitemap allows you to specify additional information about each URL such as:
- When it was last updated
- How often the site changes
- How important the page is in relation to other pages
To generate a sitemap, you can use https://xml-sitemaps.com which helps to generate up to 500 pages or Screaming Frog (Free Edition). Should you require larger than that, a paid version of Screaming Frog will do the job.
HTML Sitemap
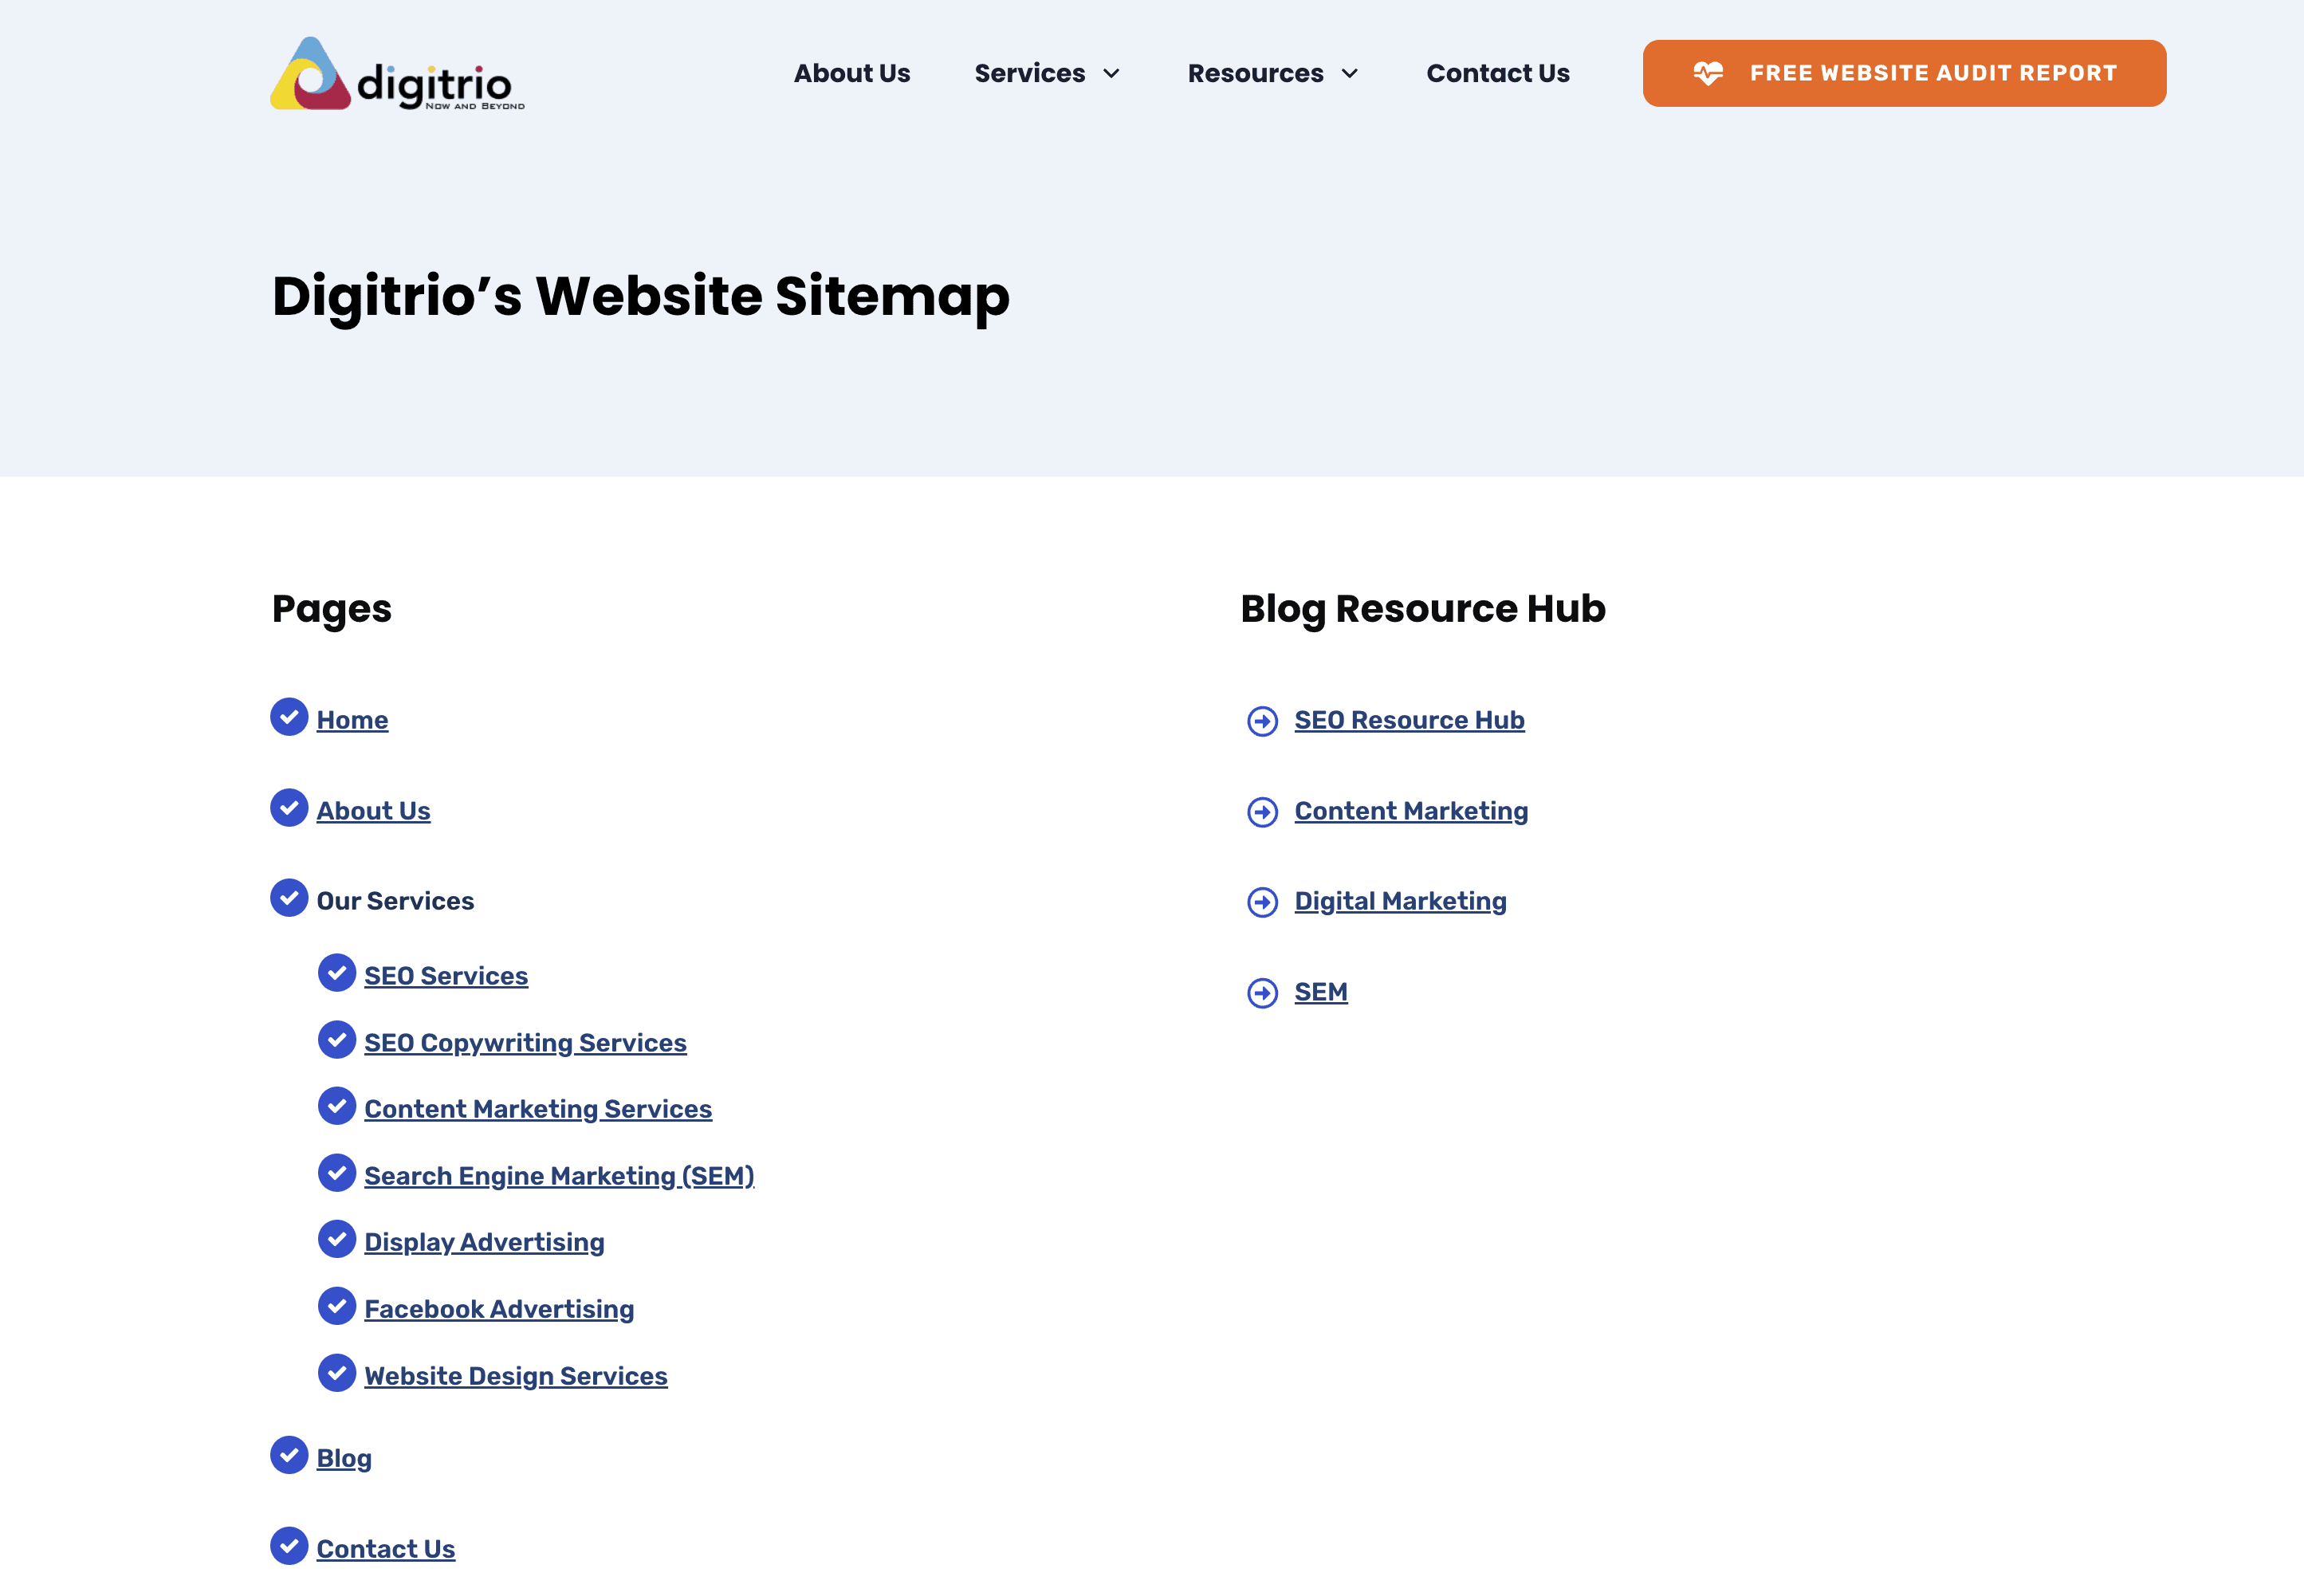
An HTML sitemap is a page meant for the user to navigate around especially if your site is large and with a lot of pages. It offers a clear overview of all the pages of the site. This is often an overlooked step but it is essential as it enhances user experience and helps the user navigate around.
4. Robots.txt Creation
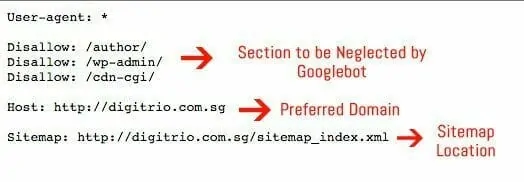
A robots.txt file is a file at the root of your site that indicates those parts of your site you don’t want to be accessed by search engine crawlers and there is definitely section in the new site that you do not want like the backend access and etc.
This is also a place to define the location of your Sitemap.xml for the Googlebot.
(Note: Setting Host in the robots.txt is optional and personal preference. It is mention in Yandex webmaster and Googlebot appear to understand it as well.)
5. 301s Redirect to Old URLs to New URLs

On the pre-phrase section, you have already done up the 301 Redirect Map and now it is time to put it in place. A 301 redirect is basically a permanent redirect and you are telling Google that you have permanently shifted to your new URLs and any link authority and juice should be passed over.
One of the easiest ways to do a 301 redirect is via the .htaccess file.
(Note: Do exercise with caution especially when touching the .htaccess file as it might make the whole site down when done incorrectly. If unsure, do get a web developer to assist with it.)
6. Unblock Googlebot
The last but crucial step before launching a site is to make sure that you have unblocked Googlebot.
Remove the following code from the header of each page.
Plus the following in robots.txt.
Disallow: /
If you have done all the above, you are ready to launch the new site.
Post-Launch Checklist
Your newly redesign website is live but that does not mean that your job is done. In fact, now is the time to testament if you have executed everything correct on all the steps above.
1. Create Annotation in Google Analytics
Creating an annotation in Google Analytics 4 (GA4) is a useful way to note significant events or changes that might affect your data, such as website updates, marketing campaigns, or external factors like holidays. However, unlike its predecessor, Universal Analytics, GA4 does not currently offer a direct feature for creating annotations within its interface.
Here are alternative ways to track important events or changes in GA4:
Use Events to Mark Changes:
- In GA4, everything is tracked as an event. You can create a custom event to mark significant occurrences.
- For instance, if you redesign your website, you could create an event named
website_redesign. This way, when you review your data, you can filter by this event to see how the redesign may have impacted your metrics.
Leverage Google Data Studio:
- Google Data Studio can be connected to your GA4 property.
- You can create a report in Data Studio and manually add text boxes or shapes to serve as annotations on the report. This method allows for visual marking of important dates or events alongside your GA4 data.
Maintain an External Change Log:
- Keep an external log (like a spreadsheet or a document) of important changes and events with corresponding dates.
- You can then cross-reference this log when analyzing changes in your GA4 data.
Utilize Google Tag Manager:
- Google Tag Manager (GTM) can be used to deploy custom event tags on your site that correspond to significant changes or campaigns.
- These custom events will then appear in your GA4 reports, acting as markers for the changes you want to track.
2. Check that 301s Redirect Working
Now that your new site is live, check that 301s Redirect is working again. Check, Check and Check. The last thing, you want to happen is that you lose all your SEO link juice and authority by not double-checking on your 301 Redirect.
3. Adjusting Events in Google Analytics
If there have been changes to the key events tracking on your new website, you will need to make adjustments. Here's how to do it:
- Access GA4 Admin Panel: First, log into your Google Analytics 4 property. Unlike UA, GA4 does not have a 'Views' section. Instead, you work directly within the property level.
- Navigate to Events: In the GA4 interface, go to the 'Events' section. Here, you will see a list of events that GA4 is tracking for your website.
- Review and Modify Events: If your website URLs have changed, you may need to modify the existing events or create new ones to reflect these changes. This is because events in GA4 can be tied to specific user actions or page views, which might include specific URLs.
- Mark Events as Conversions: Once your events are correctly set up and reflect the new site structure, identify which of these events are crucial as goals for your business. In GA4, you can mark any event as a conversion by toggling the 'Mark as conversion' option next to the event.
- Check Conversion Events: After marking the necessary events as conversions, review them to ensure they align with your new site's objectives. GA4 offers flexibility in defining and modifying conversions, so take advantage of this to accurately track your key performance indicators.
4. Check the Number of New Pages Indexed

Use the query "site:[yourdomain.com]" in the Google search box to see the number of pages indexed by Google. Replace "[yourdomain.com]" with your actual website domain. The number of indexed pages will likely decrease immediately after launch. However, once the 301 redirects are recognized, this number should increase again. It's also important to ensure that no duplicate pages are being indexed.
5. Monitor Google Search Console Errors
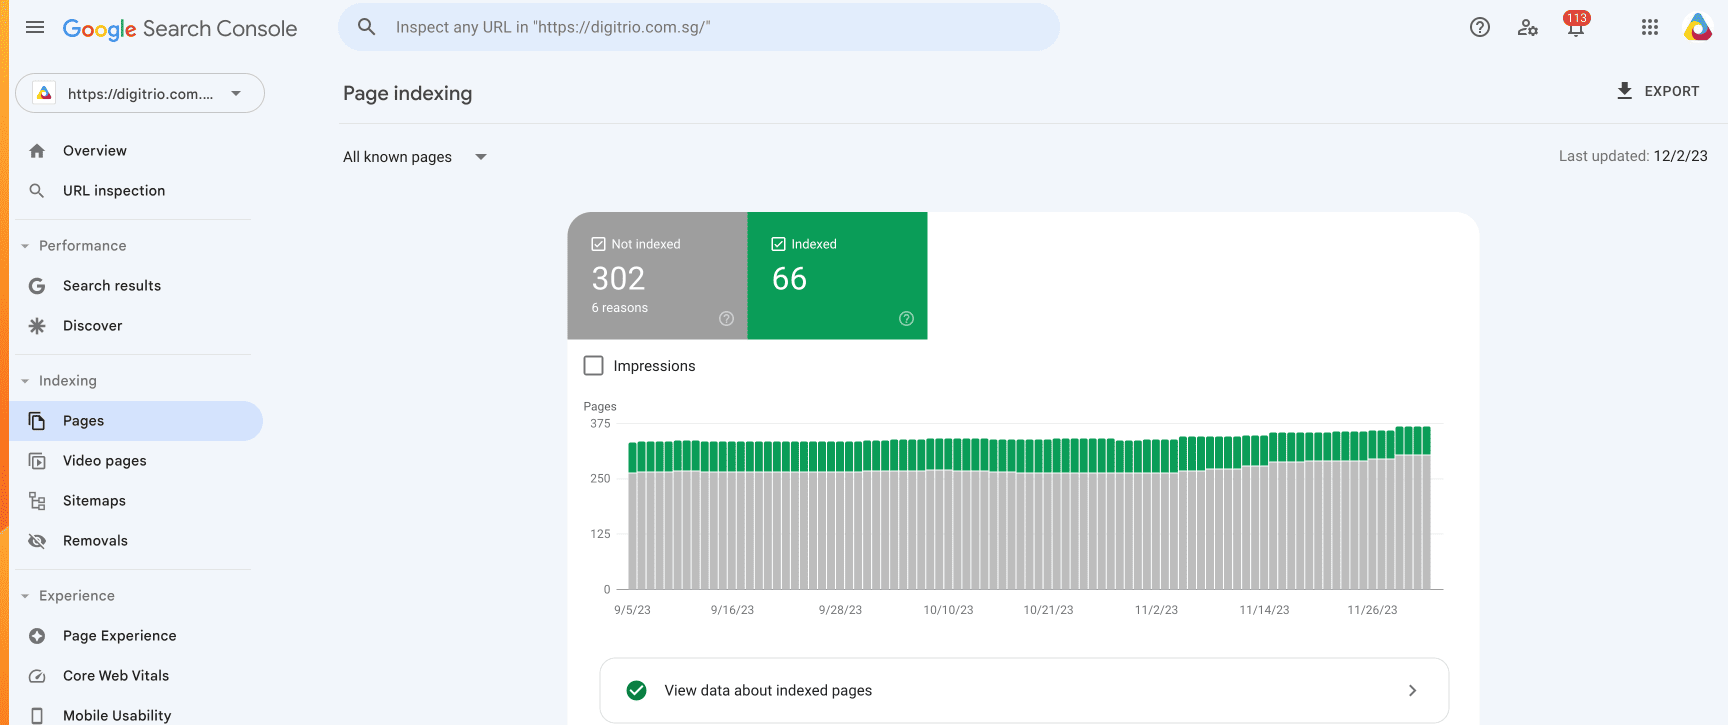
To monitor errors in Google Search Console, follow these steps:
- Log In to Google Search Console: Access your account by logging in.
- Select Your Website: Choose the website you want to monitor from the list of sites you manage.
- Check the Overview Dashboard: The Overview page gives you a quick glance at any critical issues or errors, such as crawl errors, security issues, or mobile usability problems.
- Inspect the Pages Report : Navigate to the 'Pages' section under 'Indexing'. This report shows details about the indexing status of your website, including errors, valid pages, warnings, and excluded pages.
- Review Specific Error Types: Look for specific types of errors like 404 (Page Not Found), server errors, redirect errors, etc., and take note of any trends or sudden spikes in errors.
- Monitor the Search Results Report: This report helps you understand how your site performs in Google search results, including click-through rates, impressions, and average positions. It can indirectly indicate potential issues affecting your site's visibility.
- Set Up Alerts: Google Search Console can notify you of critical issues via email. Make sure your notification settings are configured to alert you promptly.
- Regularly Review and Address Issues: Regularly check Google Search Console and address any identified issues. Fixing these promptly can improve your site’s performance in search results.
6. Monitor Ranking
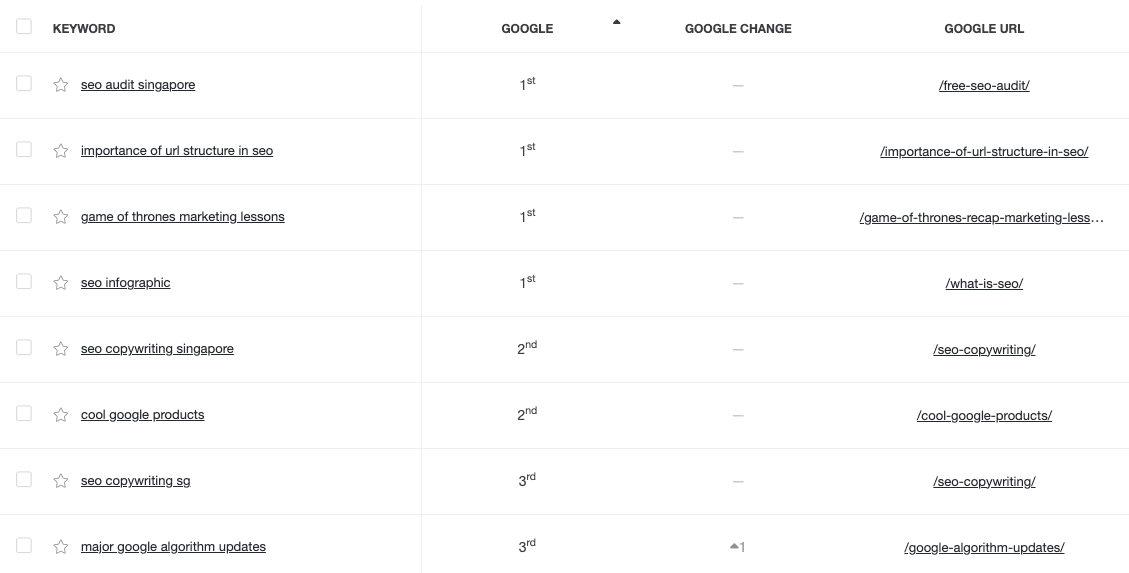
You will also see rankings take an initial dip while the engines are picking up your 301s and assessing the new pages. It could be down for 1-3 weeks as Google picks up on the new redesign. Ideally, set the redesign during a low season of your business.
Conclusion
In conclusion, the process of website redesign is complex and requires careful consideration, especially in terms of SEO. The detailed checklist provided highlights the extensive range of tasks involved, encompassing everything from developing a keyword strategy and adjusting site structure, to managing technical elements like 301 redirects, meta tagging, and site speed optimization. These components are critical to ensure that the SEO performance of the redesigned website is not just preserved but potentially improved.
This complexity and technical depth underscore the importance of expertise in this field. Engaging a professional SEO agency becomes not just beneficial but often necessary to navigate these multifaceted challenges effectively.


